
8 Easy Ways to Remove Glue From Your Car Without Damage
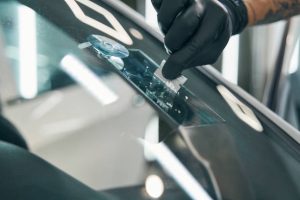
Sticky glue residue on your car can be frustrating and worrying—especially if you’re concerned about scratching the paint or dulling the clear coat. Whether it’s leftover adhesive from badges, decals, or tape, the right approach makes all the difference.
Below are eight safe, beginner‑friendly methods to remove glue from your car without causing damage. Choose the technique that best suits the type of residue and the area of your vehicle you’re working on.
1. Warm Soapy Water for Fresh Glue
For recently applied glue or light adhesive, start with the gentlest option: warm soapy water. Mix a few drops of pH‑neutral car shampoo with warm (not hot) water, then soak a soft microfiber cloth in the solution. Press it over the glue for a few minutes to soften the residue instead of scrubbing immediately.
Once the adhesive begins to loosen, gently wipe in straight lines rather than circular motions to avoid swirl marks. Rinse the area with clean water and dry with another soft towel. This method is ideal for delicate trim and freshly bonded residue that hasn’t fully cured.
2. Use a Dedicated Automotive Adhesive Remover
Stubborn glue from decals or badges often needs a product specifically designed for automotive surfaces. An adhesive remover formulated for cars breaks down residue while remaining safe for clear coat, plastic, and glass. Apply a small amount to a microfiber pad and work it onto the affected area with light pressure.
Allow it to dwell for a minute or two so it can penetrate the glue rather than forcing the process. Wipe away softened material carefully, then wash and dry the panel to remove any chemical trace. Always check the label and spot‑test in an inconspicuous area before full use.
3. Gentle Heat From a Hair Dryer
Using controlled heat is an effective way to soften glue without harsh scrubbing. Set a household hair dryer to a medium setting and hold it several inches from the surface, moving constantly to prevent overheating. As the adhesive warms, it becomes more flexible and easier to lift.
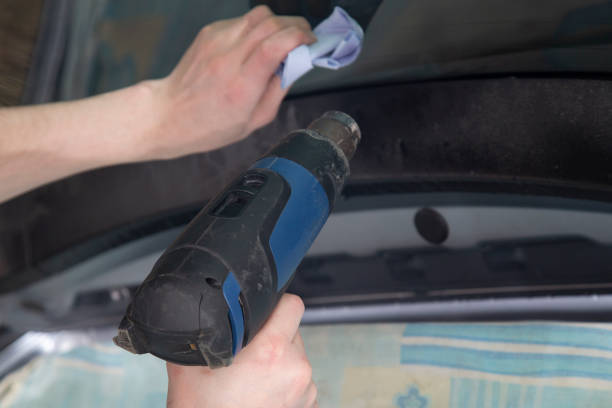
When the glue feels soft to the touch, peel it back slowly using your fingers or a plastic scraper designed for detailing. Avoid metal tools, which can easily scratch paint or trim. Finish by wiping the area with a damp microfiber cloth to clear any remaining residue or smears.
4. Rubbing Alcohol for Targeted Spot Cleaning
Isopropyl rubbing alcohol works well on small glue spots, especially on glass or chrome. Dampen a corner of a microfiber cloth with alcohol and dab the residue rather than soaking the entire panel. This targeted approach minimizes the risk of drying out surrounding paintwork or plastic.
As the glue dissolves, gently wipe in short strokes until the surface feels smooth. Immediately follow with a mild wash and dry to neutralize the area and prevent streaking. Avoid using alcohol on unpainted rubber or porous trim, and always spot‑test on sensitive surfaces beforehand.
5. Plastic Scraper for Precision Removal
Mechanical removal can be safe if you choose the right tool and technique. A dedicated plastic scraper or old plastic card allows you to lift glue without cutting into the clear coat. Hold the scraper at a shallow angle and gently push under the edge of the adhesive, working in short, careful motions.
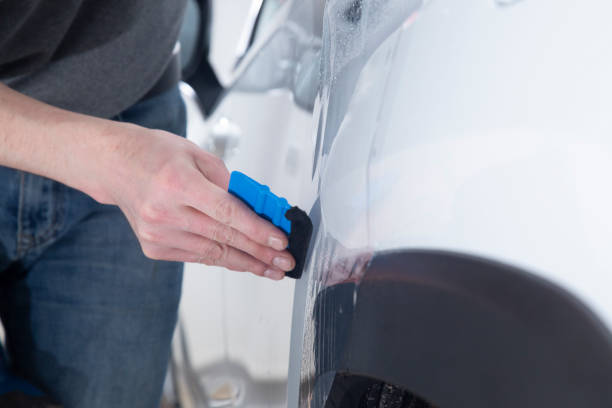
Combine this method with warm soapy water or a mild solvent to make the glue more pliable. Never apply heavy pressure or use metal blades, as they can cause permanent scratches. After the adhesive is removed, lightly wash and inspect the area under good lighting for any remaining trace.
6. Clay Bar Treatment for Fine Residue
A detailing clay bar is excellent for removing thin, stubborn glue film left after larger chunks are gone. Lubricate the area with a dedicated clay lubricant or a quick detailer spray to ensure the clay glides smoothly. Gently move the clay in back‑and‑forth motions over the contaminated section, folding it periodically to expose a clean surface.
As the clay picks up residue, the panel will feel progressively smoother. Once finished, wipe the area with a microfiber cloth and reapply wax or sealant if needed, since clay can remove some protection. This method works best for light bonding on painted panels and glass.
7. Professional Tar Remover for Heavy Contamination
For thick, stubborn glue or adhesive mixed with road grime, a professional‑grade tar remover can be particularly effective. These products are formulated to dissolve heavy contaminants while remaining safe for automotive finishes when used as directed. Apply it sparingly to the affected spot, allow a short dwell time, and gently wipe away the softened residue.
Follow up with a thorough wash of the treated area to remove chemical traces and restore a clean surface. Always read the instructions carefully, wear gloves if recommended, and avoid prolonged contact with unprotected plastic trim. Spot‑testing first will help ensure compatibility with your specific paint system.
8. Finish With Polish and Protection
Even when glue is safely removed, the area may look slightly dull or uneven compared to surrounding paint. A light finishing polish applied with a soft applicator pad can help restore clarity and gloss. Work in small sections, using gentle, overlapping motions, and buff off residue with a clean microfiber cloth once the polish has flashed.
To protect the newly treated surface, apply a layer of wax, sealant, or ceramic spray. This barrier makes future adhesive removal easier and helps shield against UV exposure and environmental contaminants. Regular maintenance ensures your car’s finish remains consistent across all panels.
Conclusion
Removing glue from your car doesn’t have to mean risking damage or expensive repairs. By starting with the gentlest methods and progressing carefully to more targeted products, you can safely lift adhesive from paint, glass, and trim.
Always spot‑test, work patiently, and finish with proper protection to keep your vehicle looking its best. With these eight easy techniques, you’ll be better prepared the next time stubborn glue tries to spoil your car’s appearance.